
I knew that they were going to be difficult to rank up, even more so when you include the command figures.
No big deal, I thought. I will just break out some sculpey and some matboard...
Well, it turns out that I needed two things to proceed. Some new Sculpey and a working oven. Since I didn't have either of those things, I had to figure out something else on the fly.
I remembered how much fun and success I had with the pink foam on the Fortress Falls army board. Could I somehow manipulate that material in the same way that I could my trusty sculpey?
First, I got out my exacto knives and started shaving down pieces of pink foam.

Here is the unit, ranked up as best as I could get them. It took a lot of moving guys around!

You may recognize some of the figures from recent posts...

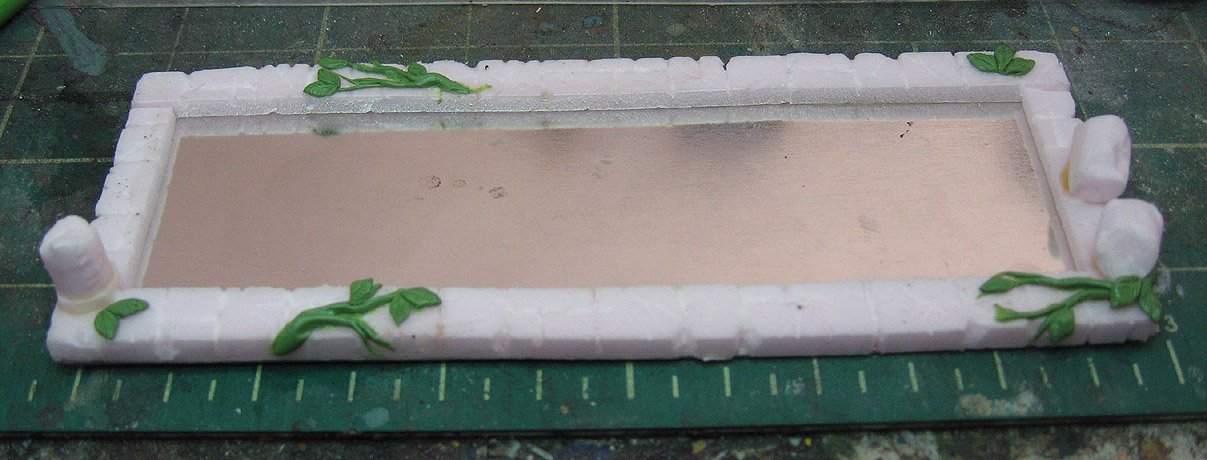
I wanted some stronger magnetic hold, so I got a sheet of magnetized sheet metal. It's important to make sure that is what you purchased, as I discovered the hard way. Always have a magnet with you in the store!!

Cathy reminded me that we used to make all kinds of Blood Bowl fields by taking pink foam and putting stone textures into it!
Those pieces of foam you saw in the earlier photo were cut into very specific shapes... 3/16 inch wide by 1/16 thick. I glued them into place, and then carved/pressed in some floor texture with carving tools to match the bases.

Finally, I cut away bits of the stones with the exacto knife to make some serious weathering...

Here you see some pillars which were also made from the foam. I took rectangles and carved/sanded them into pillars! Once all that was done, I had to find a way to 'seal' the foam, and make it stronger. Otherwise, any pressure at all would damage it. We have learned that wood glue or stronger formula Elmer's glue is perfect for this task!

After that dried, it was time to sculpt some vines and leaves like the ones on the bases.

More vines!
More leaves!

I let all this set up, and then it was time to paint it! Stay tuned for the exciting conclusion of an exercise in Plan B!!


.JPG)


No hay comentarios:
Publicar un comentario