

I'm not a big fan of painting interiors. Most of my Land Raiders and Rhinos are sealed shut with the interiors unpainted. I just couldn't do that with this model, I had to put in the extra effort and paint the interior of the hawk. It was simple to paint with drybrush techniques with a few lights and screens for detail.

Chronus is doing some pretty important work in the rear compartment of the Thunderhawk. I think he's snuck back there to sneak a cheeky read of the new Chaos Codex.

The Techmarine pilots received an upgrade. In one of the older assembly blog entries I posted, Stahly suggested that I replace the pilot heads. The pilots that come with the model use one piece bodies that have identical heads so the pilots look like twins. I hacksawed the torsos off and replaced them with plastic vehicle crew. I really like the red armour against the dark blue interior.

With the 'lid' on you can see the pilots looking through the windscreen.


Chronus is back, this time he's worked his way down to the assault ramp. It's pretty dark in there so I'm pleased I didn't spend too long painting this lower transport compartment.
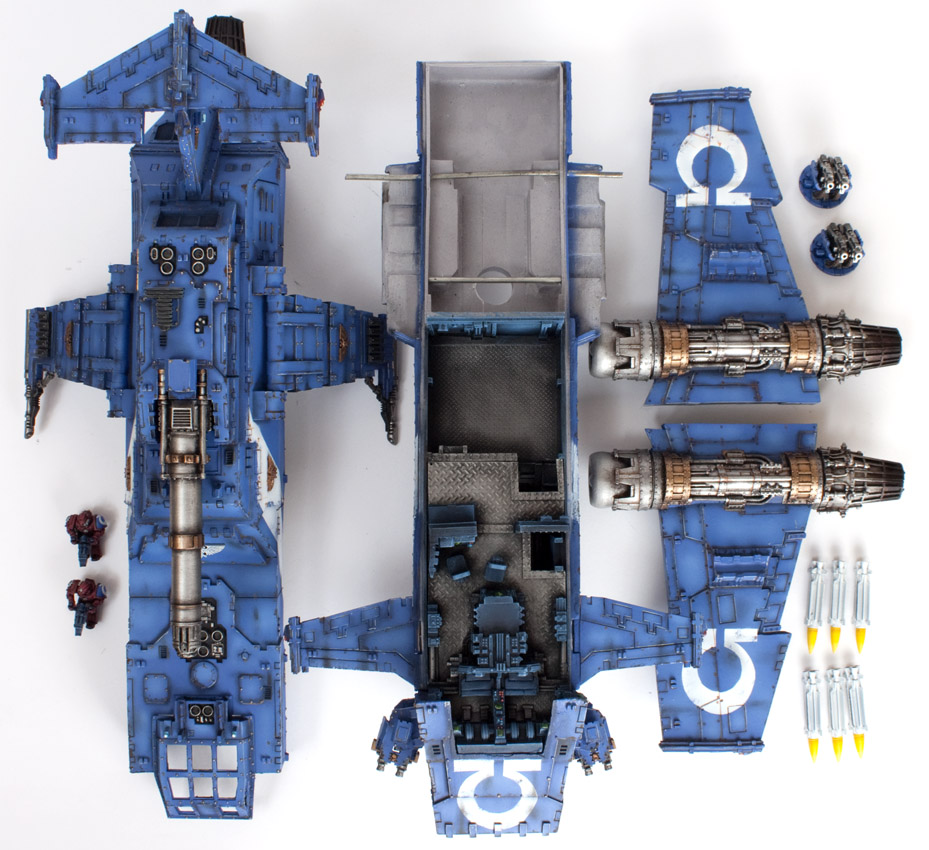
I thought it might be interesting to show the Thunderhawk broken down into all the parts. I choose to keep the flyer modular for two reasons. First is transport, it will make it easier to move this huge model around. Secondly, I painted the interior, so I want to see it occasionally! I glued a metal rod over the flying stand hole, this rod supports the weight of the whole model, which allows the top half the model to be loose and not glued down.
I have heard many Thunderhawk owners glue their models shut because the main bodies are so warped they don't align properly. So they use clamps and rubber bands and a lot of glue to try and square the model up and strengthen it. You only have to reread all the assembly blogs entries I posted to see the effort that went into straightening this model. It has really paid off because it all fits flush and square and still comes apart.

That's the Thunderhawk completed. I can't believe I've finished painting this £399 monster of a kit. With just the base left to paint the end is in sight. Watch this space for my last Thunderhawk post which will be the showcase entry.


.JPG)


No hay comentarios:
Publicar un comentario